TV Wall Mount Installation Guide: A Comprehensive PDF Overview
This guide offers a step-by-step walkthrough for installing a TV wall mount‚ ensuring a secure and professional result. It emphasizes safety‚ proper tools‚ and following specific mount instructions. Consult an installation specialist if needed.
This comprehensive PDF guide aims to provide a clear and concise walkthrough of the TV wall mount installation process. It is designed for both beginners and experienced DIY enthusiasts‚ offering detailed instructions and essential safety precautions to ensure a successful and secure mounting experience. Installing a TV wall mount can significantly enhance your viewing experience and save space‚ but it’s crucial to approach the project with the right knowledge and preparation. This guide covers everything from selecting the appropriate mount to performing post-installation checks‚ helping you avoid common pitfalls and achieve a professional-looking result. By following these instructions carefully‚ you can confidently mount your TV and enjoy an enhanced home entertainment setup. Always prioritize safety and refer to the manufacturer’s instructions for your specific mount model.
Selecting the Right TV Wall Mount
Choosing the correct TV wall mount is crucial for a secure and satisfying installation. Consider your TV’s size‚ weight‚ and VESA compatibility. Different mounts offer varying features like tilting‚ swiveling‚ or a fixed position‚ so choose wisely.
Understanding VESA Standards
The VESA (Video Electronics Standards Association) standard is a crucial aspect of TV wall mounting‚ acting as a universal language for compatibility between TVs and mounts. It refers to the standardized hole pattern on the back of your TV‚ measured in millimeters. These measurements are essential for ensuring that your chosen wall mount will properly align and securely attach to your television.
Before purchasing a wall mount‚ carefully check your TV’s specifications or measure the distance between the mounting holes on the back panel. This information will allow you to identify the correct VESA standard for your TV. Common VESA patterns include 200x200mm‚ 300x300mm‚ 400x400mm‚ and 600x400mm‚ among others.
Failing to match the VESA standard can result in an unstable or even impossible installation. Many wall mounts are designed to accommodate multiple VESA patterns‚ offering greater flexibility. However‚ it’s always best to confirm compatibility before making a purchase. Adapters are sometimes available to bridge the gap between different VESA sizes‚ but it’s generally preferable to select a mount that natively supports your TV’s VESA specification.
Essential Tools and Materials
A successful TV wall mount installation hinges on having the right tools and materials readily available. Before commencing the project‚ gather the following essentials to ensure a smooth and safe process. Firstly‚ a reliable stud finder is paramount for locating wall studs‚ which are crucial for secure mounting‚ especially on drywall. A level (spirit or laser) is indispensable for achieving a perfectly horizontal TV placement.
You’ll need a power drill with various drill bits‚ including those suitable for wood or concrete‚ depending on your wall type. A socket wrench set or adjustable wrench is necessary for tightening bolts and nuts. A measuring tape is vital for accurate measurements of the TV and wall. A pencil is useful for marking drilling locations and reference points. Safety glasses are a must to protect your eyes from debris.
Beyond tools‚ specific materials are equally important. The appropriate wall mount‚ compatible with your TV’s VESA standard and weight‚ is the primary component. Ensure you have the correct screws‚ anchors‚ and spacers‚ often included with the mount. Consider cable management solutions like zip ties or cable sleeves to keep wires organized and concealed‚ resulting in a cleaner aesthetic. Having these tools and materials prepared beforehand will streamline the installation and contribute to a professional finish.
Safety Precautions
Safety is paramount. Prioritize consulting the mount’s instructions. Ensure the wall can support the combined weight of the TV and mount. Wear safety glasses. If unsure‚ consult a professional installer before you start installation and assembly.
Weight Capacity Considerations
Before initiating any TV wall mount installation‚ meticulously verifying weight capacity is non-negotiable. This involves a dual assessment: first‚ determining the precise weight of your television‚ typically found in the product specifications or on a label affixed to the TV itself. Second‚ equally crucial is confirming that the selected wall mount is explicitly rated to support at least that weight.
Exceeding the weight limit of the mount is a dangerous gamble‚ potentially leading to catastrophic failure‚ including the TV detaching from the wall‚ causing damage to the device‚ the wall itself‚ and‚ more importantly‚ posing a significant risk of personal injury. Always err on the side of caution and choose a mount with a weight capacity that comfortably exceeds your TV’s weight.
Furthermore‚ consider the wall’s structural integrity. Is it a stud wall‚ concrete‚ or another material? Each wall type has different load-bearing capabilities. For stud walls‚ locate the studs using a stud finder and ensure the mount is securely anchored to them. For concrete walls‚ use appropriate anchors designed for the specific weight and wall type. When mounting on cinder block‚ verify the actual concrete thickness is at least. If unsure‚ consult a construction professional to determine the wall’s weight-bearing capacity.

Step-by-Step Installation Process
This section details the TV wall mount installation. It covers stud and concrete wall installations. Follow each step carefully‚ consulting the mount’s manual. Ensure proper tools are used for a secure and successful installation‚ preventing damage and injury.
Stud Wall Installation
Begin by locating the studs using a stud finder. Mark the stud locations accurately‚ ensuring they align with your desired TV placement. Use a level to draw a horizontal line across the studs to indicate the top of the wall plate. Center the wall plate on this line and mark the pilot hole locations.
Pre-drill pilot holes into the studs using a drill bit slightly smaller than the diameter of the lag bolts or screws provided with your wall mount. Align the wall plate with the pilot holes and securely fasten it to the studs using the appropriate hardware. Ensure the wall plate is level and tightly secured to the studs for maximum support. Double-check the stability of the mounted wall plate before proceeding.
It is crucial to use wood studs of at least 2×4 dimensions (38mm x 89mm) for a secure mount. Avoid using metal framing studs‚ as they are not designed to support the weight of a TV. Always refer to the installation manual for specific instructions and torque specifications.
Concrete Wall Installation
For concrete wall installations‚ start by determining the desired location for your TV and marking it on the wall. Use a level to ensure your marks are straight. Next‚ position the wall plate template against the wall at the marked location. Using a pencil‚ carefully mark the locations for the anchor holes through the template.
Using a hammer drill with a masonry bit that matches the diameter of your concrete anchors‚ drill the anchor holes to the required depth. Clear any dust or debris from the holes. Insert the concrete anchors into the holes‚ tapping them gently with a hammer until they are flush with the wall surface.
Align the wall plate with the installed anchors. Insert the appropriate bolts or screws through the wall plate and into the anchors. Tighten the bolts securely‚ ensuring the wall plate is firmly attached to the concrete wall. Verify the stability of the mounted wall plate before proceeding. Remember to check that the concrete thickness is adequate for supporting the weight of the TV and mount.

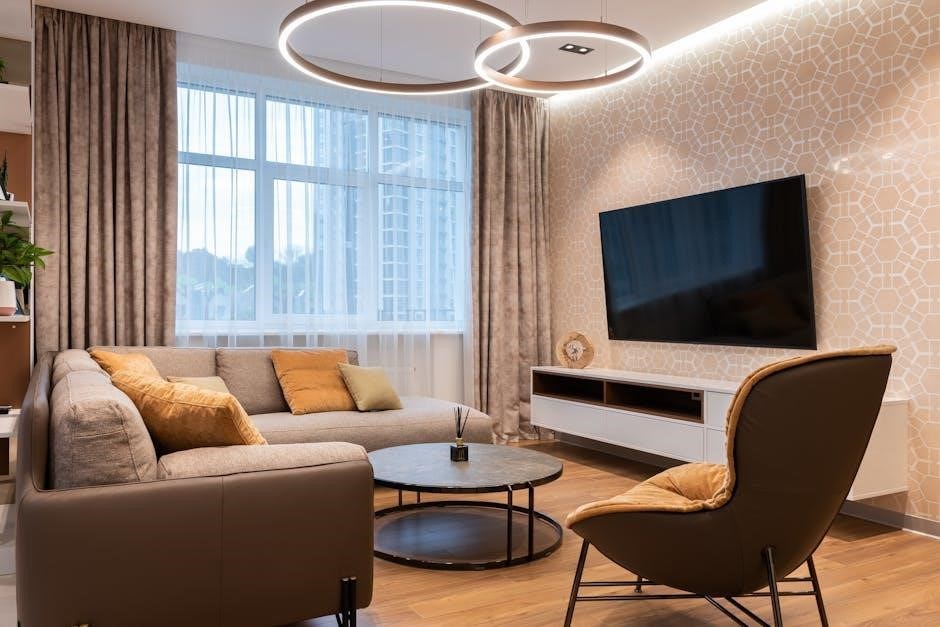
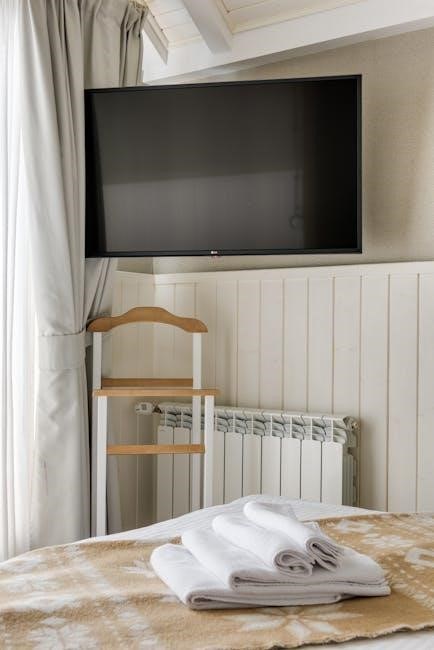
Mounting the TV
With the wall plate securely installed‚ the next step is to carefully lift the TV and align the mounting brackets (previously attached to the TV) with the wall plate. This step often requires two people‚ especially for larger TVs‚ to ensure safety and prevent damage. Gently guide the TV towards the wall plate‚ making sure the brackets align correctly with the corresponding slots or hooks on the plate.
Once aligned‚ carefully hook the TV brackets onto the wall plate. Some mounts utilize a locking mechanism that clicks into place‚ securing the TV. If your mount has a locking mechanism‚ ensure it engages properly. If not‚ you will likely need to insert screws or bolts to secure the TV to the wall plate.
Using the appropriate screws or bolts provided with your mount‚ carefully tighten them to secure the TV to the wall plate. Avoid over-tightening‚ as this could damage the TV or the mount. Once all screws are tightened‚ gently test the stability of the TV to ensure it is securely attached and will not wobble or detach. Ensure that any safety features‚ like locking mechanisms‚ are fully engaged before releasing the TV.
Post-Installation Checks
After mounting the TV‚ conduct thorough post-installation checks to ensure safety and optimal viewing experience. Begin by visually inspecting the mount and TV to confirm that all screws and bolts are securely tightened. Gently push and pull on the TV to check for any wobbling or instability. If any movement is detected‚ re-tighten the screws or bolts as needed.
Next‚ verify the levelness of the TV using a level tool. If the TV is not perfectly level‚ adjust the mount according to the manufacturer’s instructions. Some mounts have built-in leveling adjustments‚ while others may require shims or other adjustments. Ensure the TV is perfectly level to avoid visual distractions.
Once the TV is securely mounted and level‚ manage the cables for a clean and organized look. Use cable ties‚ sleeves‚ or raceways to bundle and conceal the cables running from the TV to your other devices. This will not only improve the aesthetics of your setup but also prevent the cables from becoming a tripping hazard. Finally‚ test the TV’s functionality by turning it on and ensuring that all inputs and outputs are working correctly.
Troubleshooting Common Issues
Even with careful planning‚ some issues may arise during or after TV wall mount installation. One common problem is the TV not being level after mounting. This can usually be corrected by adjusting the mount’s leveling screws or shimming one side. If the TV wobbles‚ double-check that all screws are properly tightened and that the mount is securely attached to the wall studs or concrete.
Another frequent issue is difficulty concealing cables. Consider using cable management solutions like cable ties‚ sleeves‚ or wall-mounted raceways to keep cables organized and hidden. If you encounter stripped screws‚ try using a rubber band between the screwdriver and screw head for better grip‚ or carefully extract the screw using a screw extractor tool.
If the TV mount doesn’t fit your TV’s VESA pattern‚ double-check the mount’s specifications and consider using VESA adapters. In cases where you can’t locate wall studs‚ use appropriate drywall anchors designed to support the weight of your TV and mount. If unsure about any step‚ consult a professional installer to avoid damage or injury. Always prioritize safety and double-check every connection.
Successfully installing a TV wall mount enhances your viewing experience‚ saves space‚ and adds a modern touch to your living area. By carefully following this comprehensive guide‚ you can confidently tackle this DIY project‚ ensuring a secure and aesthetically pleasing result. Remember that preparation is key‚ from selecting the right mount based on your TV’s size and weight to gathering the necessary tools and materials.
Safety should always be your top priority. Double-check weight capacities‚ use appropriate mounting hardware‚ and consult a professional if you have any doubts about your ability to safely complete the installation. Post-installation checks are equally important to verify the stability and security of the mounted TV.
This guide provided a foundational understanding of the process‚ but always refer to your specific mount’s instructions for detailed guidance. With patience‚ attention to detail‚ and a commitment to safety‚ you can enjoy the benefits of a professionally mounted TV while saving on installation costs. A well-mounted TV not only looks great but also provides peace of mind‚ knowing your valuable electronics are securely in place.